Publishing a Flutter package with Travis CI

Are you’re thinking of building a Flutter package or have you already built one but you don’t know how to set Travis-CI up? If that’s the case, you’ve come to the right place!
Building a Flutter package
The best way to learn how to build your own Flutter package is reading the Flutter documentation. The process is pretty straightforward so I don’t think it’s worth it to replicate it here. ![]()
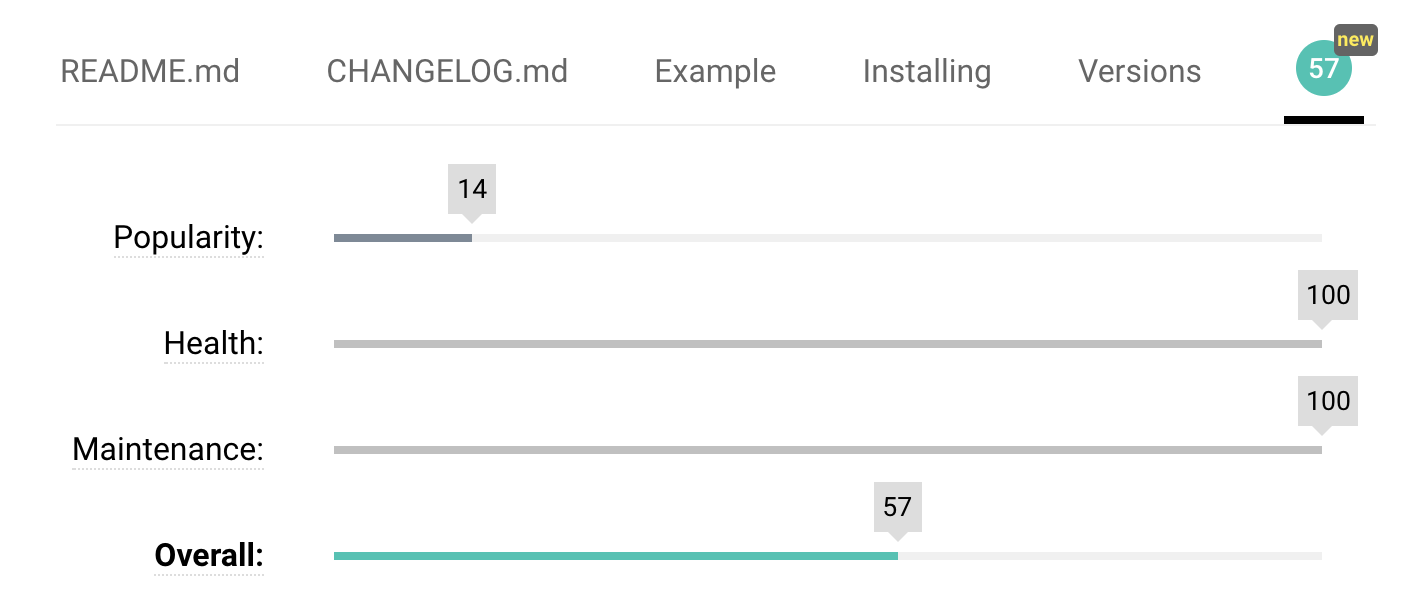
One of the important things to take into account is that all Flutter packages are rated depending on the quality of the package. This means that if you provide an Example you will get more points. But don’t worry, whenever you publish your package you will be presented with some information on how to improve this score.

Composing the Travis-CI configuration file
All you have to do is create a new file called .travis.yml in the root of your project and copy the content below:
language: dart
dart:
  - stable
os:
  - linux
sudo: false
addons:
  apt:
    sources:
      - ubuntu-toolchain-r-test # you need this source to get the right version of libstdc++6
    packages:
      - libstdc++6
      - fonts-droid
install:
  - echo 'Avoid default Travis CI install step' # this is to avoid an error with pub in Travis
before_script:
  - cd ..
  - git clone https://github.com/flutter/flutter.git
  - export PATH=`pwd`/flutter/bin:`pwd`/flutter/bin/cache/dart-sdk/bin:$PATH
  - flutter doctor
script:
  - cd $TRAVIS_BUILD_DIR
  - flutter packages get
  - flutter analyze --no-pub --no-current-package lib
  - flutter test
  - flutter packages pub publish --dry-run
before_deploy:
  - chmod +x ./.travis/publish.sh # giving execution permissions to this file to avoid error 127.
  - mv ./.travis ../ # moving this out the publication folder as we don't want to publish it.
deploy:
  provider: script
  skip_cleanup: true
  script: '../.travis/publish.sh'
  on:
    tags: true
cache:
  directories:
    - $HOME/.pub-cache
Note that we’re only publishing our package whenever we create a new tag.
Publication script
Once you have your .travis.yml file ready and set up, you must create a publication script.
Let’s create a new folder called .travis and a file called publish.sh in it. Copy the script below:
#!/usr/bin/env bash
mkdir -p .pub-cache

cat <<EOF > ~/.pub-cache/credentials.json
{
  "accessToken":"$accessToken",
  "refreshToken":"$refreshToken",
  "tokenEndpoint":"$tokenEndpoint",
  "scopes":["https://www.googleapis.com/auth/plus.me","https://www.googleapis.com/auth/userinfo.email"],
  "expiration":$expiration
}
EOF

echo "Let's publish this!"
pub publish -f
As you can see, the publication script is expecting some environment variables. But, how do we get them?
Unfortunately, the only way to get this information is by publishing your package manually so you can authenticate and get all the necessary tokens.
This should be an easy one-time process so let’s do that!
First, let’s test that everything is working fine and let’s do a “fake publication” by executing:
pub publish --dry-run
If you see something wrong, fix it. If everything is fine then just:
pub publish
You will be immediately required to open your browser and authenticate with your Google credentials and once you authenticate, a new file will be available to you in your computer: ~/.pub-cache/credentials.json.
Open it and there you will find all the information you need to set up the Travis environment variables.

Things to take into account
There are a few things that I found out the hard way:
-
If you provide an example folder make sure that you have a
pubspec.yamlin it because otherwiseflutter packages getcommand will fail. Make sure that everything works in this folder too before pushing any changes. -
Check that your
publish.shscript has execution permissions. If you don’t do this you will get a cryptic 127 error. -
pub getis called automatically byTraviswhen you selectDartas the default language. This will lead you to receive an error (it seems to be a known issue in Travis). The only way to get rid of it is to completely override theinstallstep. This is already managed for you in our previous.travis.ymlscript .
. -
The publication tokens will eventually expire so we’ll have to reset the
Travisenvironment variables when this happens (and hence do a manual publication again ).
).
Trying it out
If you have completed all the steps, you’re project will be analyzed, tested and built without publishing every time you push to your git repository.
Whenever you’re ready to publish, just create and push a new tag and Travis will take care of it! ![]()
Of course, feel free to customize the scripts according to your needs ![]() .
.
Enjoy!